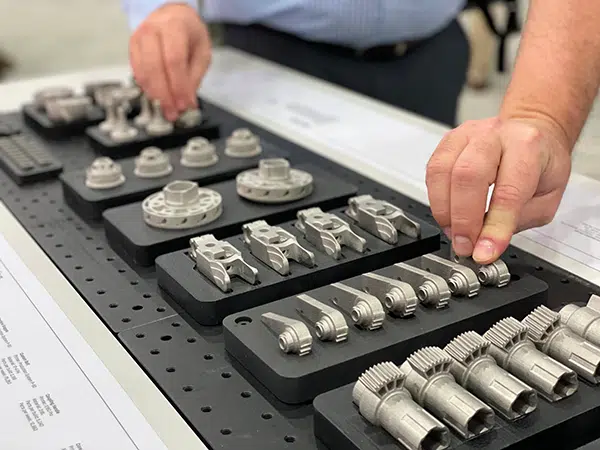
Let’s be honest—designing for additive manufacturing (DfAM) isn’t optional anymore. If you’re still tossing a CAD file at the printer and hoping for the best, you’re going to waste time, material, and probably patience.
But here’s the upside: when you follow the right design rules, your parts come off the printer stronger, cleaner, and ready for the real world. At RapidMade, we’ve seen it time and again—good design doesn’t just print, it performs.
So whether you’re prototyping a bracket, scaling up a fixture, or building production-grade parts, here are 10 essential principles to help you do it right.
1. Build for Strength in the Right Direction
Every 3D print is born layer by layer, which means it’s strongest side-to-side (X-Y) and weakest top-to-bottom (Z-axis). Got a load-bearing arm or a snap-fit? Don’t print it standing up. Orient your part so stress rides along the layers—not across them.
2. Thin Walls = Risky Business
Every print process has a limit. Go too thin and you’ll get warped edges, breakage, or total failure. For FDM, stay above 0.8 mm. SLA can handle 0.5 mm, but that’s for fine features, not load-bearing ones. Gradual changes in thickness are your friend—abrupt transitions? Not so much.
3. Supports Slow You Down
Supports mean more cleanup, more material waste, and more labor. Avoid them when you can. Overhang over 45°? Add a chamfer. Round hole? Try a teardrop. If you’re using MJF or SLS, lucky you—no supports needed. Just plan for powder removal instead.
4. Face It: Orientation Impacts Finish
Want a smooth, polished finish on a key surface? Orient it vertically. Lay it flat, and you’ll get layer lines and possible support scars. Know what areas matter most—and orient accordingly.
5. Fit Matters (But So Does Clearance)
Don’t design parts like they’re being CNC’d. AM needs looser tolerances. Slip fits need 0.2–0.4 mm clearance. Press fits need undersizing. And for tight tolerances, either add machining stock or plan on reaming post-print.
6. Combine Parts, Reduce Problems
Additive isn’t bound by tooling or stock shapes—so use it. Combine brackets with cable routing. Add living hinges or snap fits directly. Every fastener you eliminate saves time, reduces weight, and removes a failure point.
7. Don’t Skip Post-Processing Prep
Sanding. Cleaning. Machining. It’s all part of the job. If you need a tight fit or clean surface, make sure the design supports it. Leave stock for machining, avoid delicate features near supports, and design drain holes for internal cavities in powder-based prints.
8. Choose Materials Like an Engineer
You wouldn’t use wood screws in a metal frame—same logic applies here. Nylon is tough and chemical-resistant. TPU is flexible but tricky. ULTEM™ handles heat but needs serious hardware. Don’t pick materials off a spec sheet alone—match them to the job.
9. Prevent Failure Before It Happens
Bad designs fail in predictable ways. Z-axis weakness. Unsupported spans. Warping from thermal stress. You can see them coming. Use ribs, fillets, and smart wall transitions. Don’t wait for testing to fix what you could’ve solved in CAD.
10. Design for the Whole Build
In production, nesting and orientation make or break throughput. FDM likes flat parts. MJF and SLS love dense stacking—but only if you leave space for powder flow and cleanup. Think in build volume, not just part geometry.
DfAM Isn’t Fancy—It’s Just Smart
Designing for additive doesn’t mean overengineering. It means understanding the process, avoiding known pitfalls, and optimizing parts for performance, printability, and repeatability. It’s not about flashy shapes—it’s about functional ones.
Want to design smarter, scale faster, and print like a pro?
Let RapidMade help you optimize your parts for additive with engineering-grade DfAM guidance and production-ready 3D printing services.
Visit rapidmade.com or drop us a line at info@rapidmade.com to get started.
Want more insights? Keep visiting Lotology for the latest updates and information!

